Students will be taught how to shoot various angles (and not be ashamed to be so close)
Wide angles is the best angle; depth of field
The theory behind different angles (low, high, etc.)
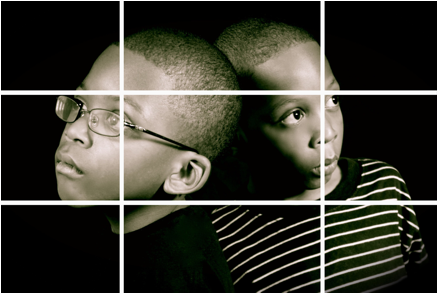
3. RULE OF THIRDS
The rule of thirds is a compositional rule of thumb in visual arts such as painting, photography and design. The rule states that an image should be imagined as divided into nine equal parts by two equally-spaced horizontal lines and two equally-spaced vertical lines, and that important compositional elements should be placed along these lines or their intersections.
CHALLENGE 1:SHOOT A SEQUENCE OF LS, MS, AND CU, AND TRY TO BUILD A STORY IN-CAMERA. MAKE SURE THERE IS A METHOD TO YOUR SHOOTING…WHAT STORY ARE YOU TELLING? We will play back the footage on a big screen and point out which sequences really work.
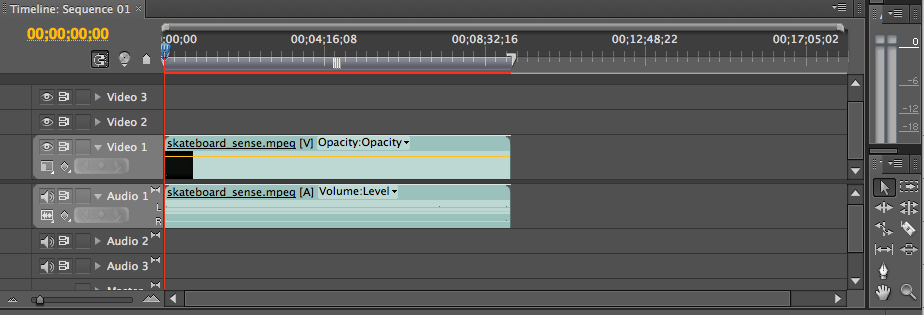
4. ADOBE PREMIERE PRO
Introduction to timeline, tools, shot sequences, trimming, titles, jump cuts, effects and transitions
Tools (selection, zoom, track select, etc.)
Selection tool
Shortcut V
The default tool, used to select clips in the timeline.
Track Select tool
lShortcut M
Select all clips on a track from a given point, or select multiple tracks.
Ripple Edit tool
Shortcut B
Adjust an edit point and move other clips in the timeline to compensate.
Rolling Edit tool
Shortcut N
Adjust an edit point between two clips without affecting the rest of the timeline.
Rate Stretch tool
Shortcut X
Change the duration of a clip while simultaneously changing the speed to compensate.
Razor tool
Shortcut C
Cut a clip (or multiple clips) into two clips.
Slip tool
Shortcut Y
Move a clip's in and out points by the same amount simultaneously, so the rest of the timeline is not affected.
Slide tool
Shortcut U
Move a clip back and forth in the timeline, while simultaneously adjusting adjacent clips to compensate.
Pen tool
Shortcut P
Create control (anchor) points.
Hand tool
Shortcut H
Drag the timeline view left and right.
Zoom tool
Shortcut Z
Click in the timeline to magnify the view, or drag and select a rectangular area to zoom into.
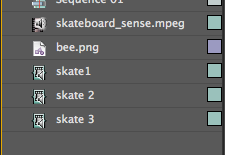
Navigating clips: In points, Out points, Sub Clips, Moving Clips in the timeline Import multiple clips, select in points and out points, bring the clips into the timeline.
Create subclips: Control/(grab the screen with hand tool, drag into bin window)
Import a group of subclips into the timeline.
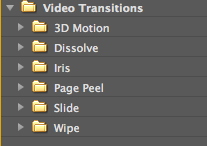
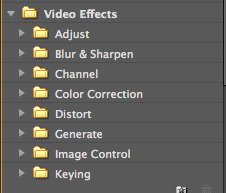
5. TRANSITION AND EFFECTS
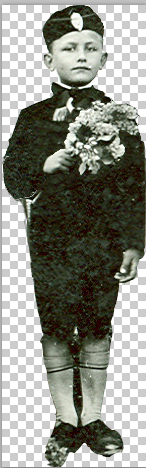
How to separate an image from its background using the selection tool in Photoshop:
Here are your tool options:
magnetic lasso, quick selection tool, magic wand and magic eraser
Select the tool you want to use and take your cursor and draw around the area that you wish to select or "crop" out. Copy your selection by right clicking your mouse, and then paste your selection into a new layer in Photoshop.
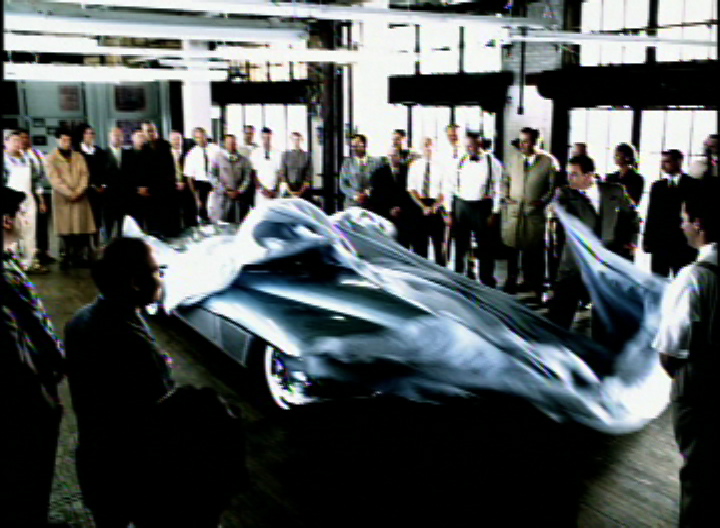
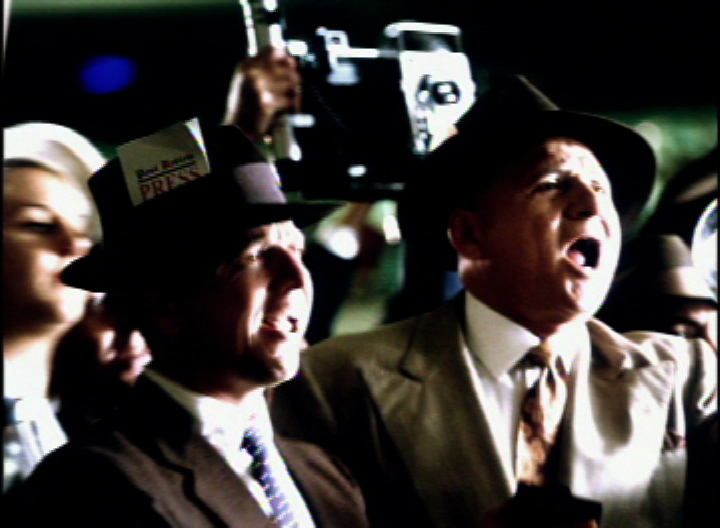
BUICK FOOTAGE (Getting familiar with Buick footage, show them how to log, point out tracking shots, close-ups,)
Importance of the story
How to animate and layer in Premiere
CHALLENGE 2: Who can Select the images first and layer them into Photoshop?
Students will be given 3 things to select (use magic eraser or magic wand)
PD images will be provided. Students will have to lap them together on different layers in Photoshop. Then bring Photoshop layers into Premiere and animate the 3 separate layers.
FINAL PROJECT THEME WILL BE INTRODUCED
What do you think is the most difficult thing a kid goes through in school?
PREVIEW OF WHAT’S TO COME: What’s possible with AE, what’s possible with blue screen, what’s possible with titles
Click and watch some examples of what you can do in AE.
6. After Effects Video 1
After Effects Video 2
After Effects Video 3
CHALLENGE 3: BUICKCHALLENGE Instructors will introduce the students to Josh Bodnar’s Buick Car Commercial Footage then put them in groups of 2. Students will then have to create a 30sec. spot using this footage. Students will then watch each other’s spots and give feedback.
FINISH before lunchtime: PEER REVIEW
7. AFTER EFFECTS:
Tools and Keyframes
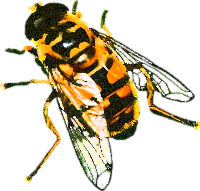
DOWNLOAD THE BEE:
These are the tools
When Bee is dragged into the composition window, you can reposition, rescale, rotate etc. the bee across time.
In the timeline, dial down the Transform box and alter the attributes:
-Anchor Point
-Position
-Scale
-Rotation
-Opacity
It's easier to just drag and the keyframe will adjust to it.
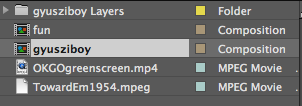
Layers
Add a solid behind the bee. Layer/New/Solid.
Also bring in a video file to create three layers.
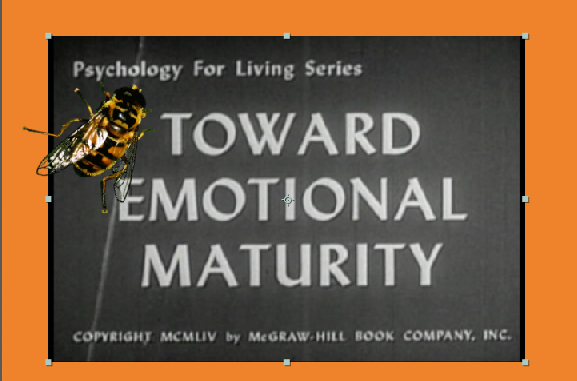
Masks
Go over the mask tools (ellipse, circle, etc)
Draw on a solid (or on a movie layer)
Choose a shape to draw the mask, or draw your own with the pen tool..
Masks hide stuff!
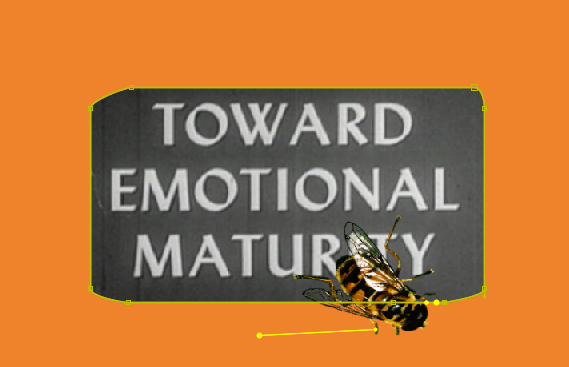
Dial down and play with the mask paths (mask properties)
You can duplicate the mask (control D)
You can draw as many as 99 masks on one layer!
Adjust the shape of a mask over time.
(Toward Emotional Maturity is a good film for a first mask.)
Animating Text
Create a New Composition.
Start with a solid background.
Find the TEXT tool, type some text into the composition window (your name is a good choice) and a new layer will automatically appear.
Over to the right there is a separate button called “Animate”…If you don’t see the “Animate” button, click on the first or second icon at the bottom left of the screen and expand the layer switches panel.
Twirl the “Animate” button down and you’ll be able to choose various properties to animate.
Range selector determines which characters are selected by the particular adjustment.
Offset value: takes the value of the range and shifts it around.
Go to the “Add” menu and you can add additional properties to the original animation.
OR: you can go to the Effects and Presets Panel:
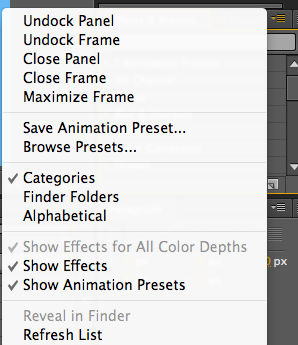
Here's a quicker way to animate text though!
Go to Click on flyout menu (little icon that looks like a bunch of lines) on the right hand side of the Effects and Presets panel:
From that flydown menu,
choose “Browse Presets”
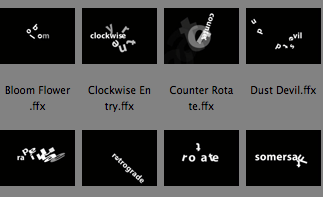
It opens up Adobe Bridge. You can select from a variety of text animations.
Click to Preview; Double click to apply the effect.
Output Movie
Composition/Make Movie
Dialog box:
Hit RENDER in top right hand corner of timeline
2. Applying Effects
Select Layer/New/Solid (effects are often used with solid layers).
You HAVE to apply effects to a separate layer, so adding a New/Solid layer ensures that you’re not messing anything up. You can’t apply effect directly to the timeline.
Go to Effects and Presets Panel and type in name of an effect.
Apply Effects in the Effects & Presets panel and then control the effects in the Effects Panel
There are over 200 effects, so if you don't know the name, you may want to browse through them. A ll effects have transparent backgrounds to start with.
In order to SEE them, you need to activate the checkerboard button at the bottom of the frame (or use a wing-tab command).
It's good to understand all the icons at bottom of screen
100% view
Grid/guides/rulers
Toggle mask and shape path visibility
Camera/snapshot of frame
Preview snapshot
Region of interest
Transparency
Active camera
Aspect ratio correction (toggle button)
Adjust exposure (cool)
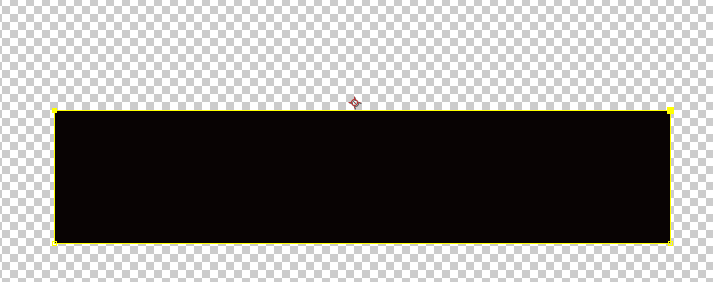
First, apply some random effects to a solid layer.
1. make rectangle box/change color to black: Layer/Solid Settings
2. to select the box, click on checkerboard and then back to box.
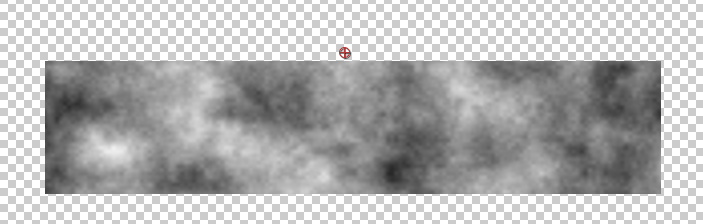
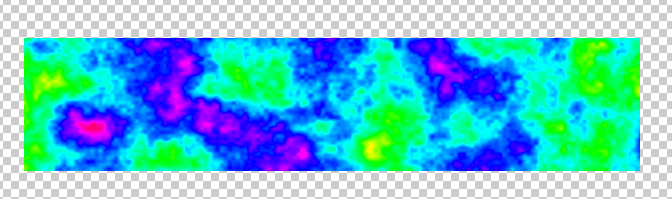
3. Add Fractal Noise Effect
4. Then add the Colorama Effect
TIP: Edit/Label = change label color
If you want to Rename the label: select label, hit “return”
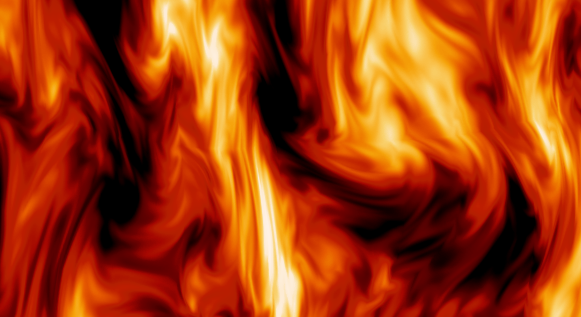
3. Creating Fire(AND OTHER FUN STUFF)
1. Select New/Solid (solids are often used with effects…just a blank box of pixels…they’re like a dummy layer you can dump a bunch of effects on). There are two ways to find effects in AE:
You can use pull down effect menu: Effect/X effect
Go to effects panel and type in the name of the effect: “Turbulent Noise” or “Bubbles” or "Lightning"
Double click OR drag and drop (on screen or in layer panel)
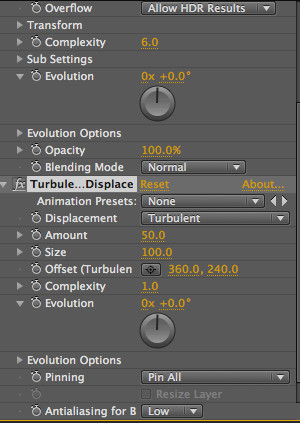
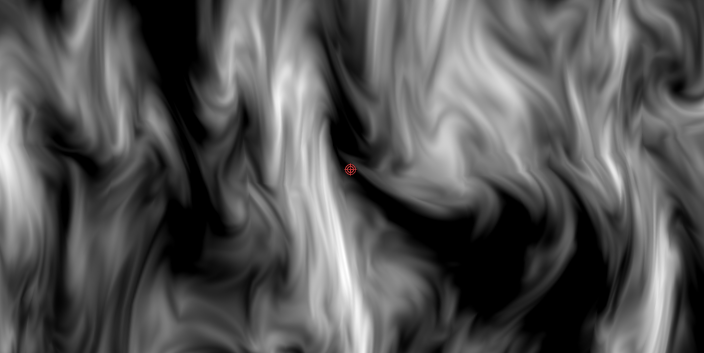
2. Select Turbulent Noise (and try Turbulent Displace on top of Turbulent Noise)
3. Turbulent Noise and Fractal Noise are good effects b/c they create random patterns.
4. Edit EFFECT in Control panel to the LEFT of the screen.
5. Change “Fractal Type” to “Dynamic Twist”
6. Increase contrast A LOT
7. Take down the Brightness of the effect
8. Open up Transform Area:
a. Uncheck “uniform scaling” (so you can independently move height and width
b. Increase height
c. Go to “complexity slider” and reduce detail
9. Finally, click Evolution diameter (make SURE you click the stopwatch!) and drag to the right to bring evolution to life, creating a new key frame and turning the Evolution dial.
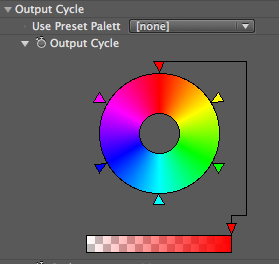
10. PILE another effect on (you can pile one after another): Colorama
11. Open output Cycle area
12.Select Use Preset Pallette and select a “fire”
13. Move “evolution parameter: to see fire take shape: every time you spin the evolution it creates a key frame (so pay attn)
TRY THIS Effect: Shatter effect
1. type in “shatter” in effect box and select effect
2. go to Shatter Effects control panel, change VIEW from Wireframe to “rendered”
3. If you open up Camera and “dimension” you’ll see it’s a 3-D effect
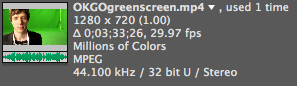
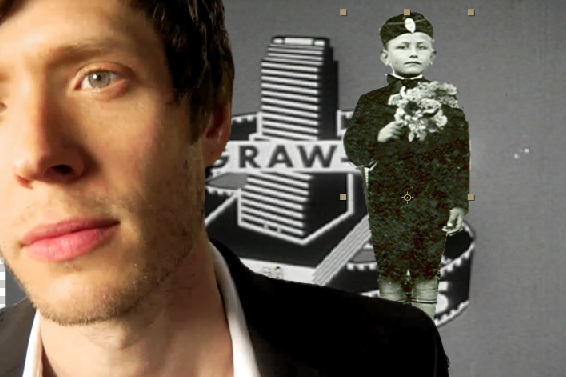
Drop the OK Go video in a new composition. Drag the OK Go footage into the timeline.
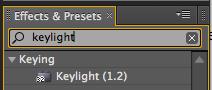
Go to Effects & Presets: Type in "Keylight" in the search bar:
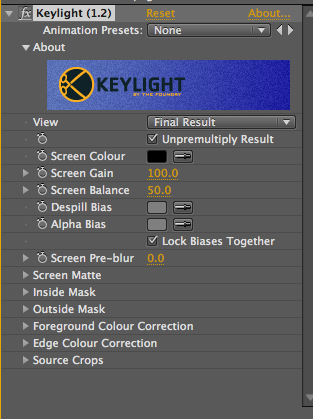
Apply the effect to the video footage (you won't see anything happen yet, but look over to the left side of the screen, you'll see Keylight animation controls to work with).
First, select the EYEDROPPER next to the "Screen Colour" option and, with the eyedropper, select the green color (green screen background) in the OK Go video.
The Screen Colour icon will switch to :
Now check the VIEW menu towards the top of the Keylight menu: CHOOSE: "Status"
Not everything is QUITE chromakeyed out!
Since you're still seeing grey (and grey in this case is bad: you want everything that's now "black" to be totally keyframed out)...you want to boost the "Clip Black" levels up to about "41"
Likewise, you want to reduce the "Clip White" levels to about "86."
Change the VIEW back to "Final Result" (don't go to source--that won't show you what the effect will look like)
You did it!
5.NESTING COMPOSITIONS
Bring the little Hungarian boy figure or the bee composition into the OK Go footage. ADD a MOVIE CLIP to go behind the OK GO footage.
See how creative you can get by nesting layers!
FINAL PROJECT REQUIREMENTS:Video/Effects
Must have a title
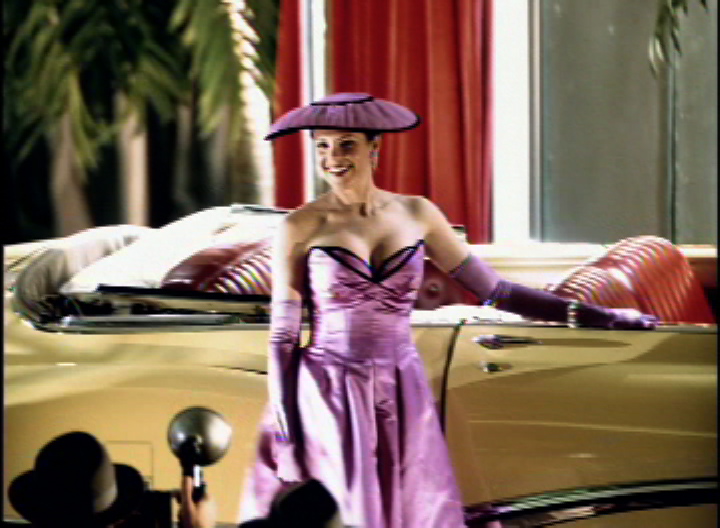
Must use this photoshop image:
must have photoshop images taken from the CREATIVE COMMONS/the New York Public Digital Library (aka: they MUST be copyright FREE)
must have one aspect that is TOTALLY CHALLENGING TO YOU
Must have a background that has an incredible affect applied to it, like FIRE. Library.
MUST have EDITED VIDEO
You must have some Blue screen footage incorporated (it could be at the end)